How to use the app:
Familiarize yourself with the Analyzer page
This section of the manual describes the layout of the page and gives descriptions for each button on the page. In the image shown as Figure 1, the sections of the scene are shown.
- In the list highlighted in yellow on the left are all of the feature points that can be highlighted on a face.
- The list on the right holds the measurements that are calculated using the coordinates recorded by the feature points.
- The question mark buttons that you see on the lists can be clicked to reveal information about a feature point or a measurement, such as where you should expect to place a specific feature point.
- The section highlighted in orange is called the "scene" of the page. It is where the 3-D model of a face is loaded, and where you can set feature points that are then used for measurements.
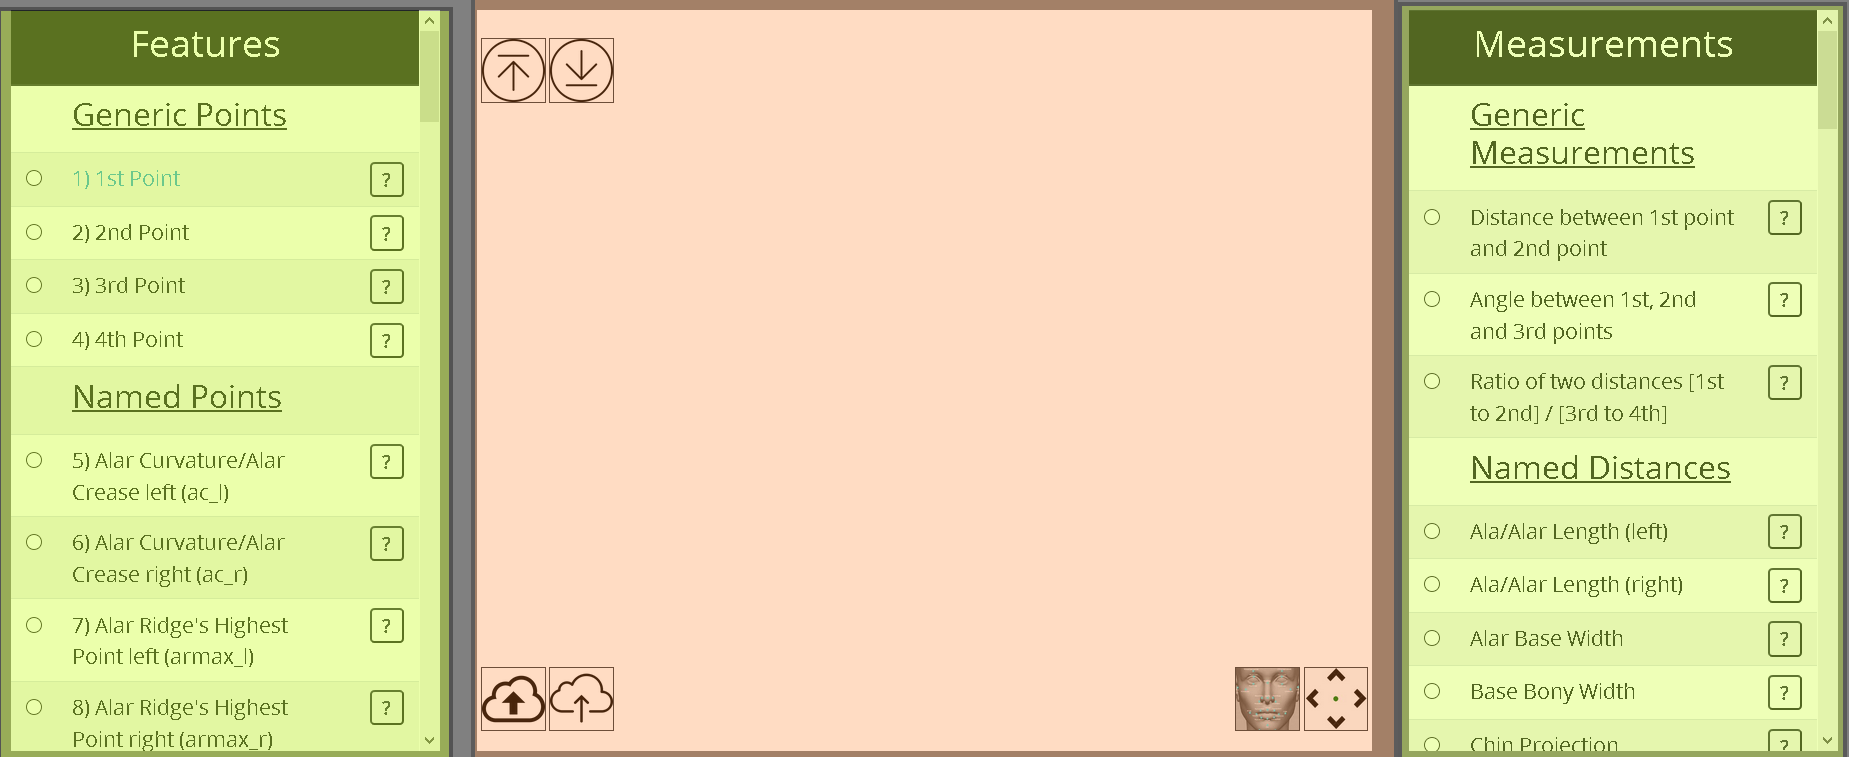
Fig. 1 The layout of the analyzer page.
Getting to know the scene buttons
-

This button is used to "load" a 3-D model into the scene. To load a 3-D model, the files required for the model must first be uploaded using the "upload" button. However, we already uploaded a 'Test' 3D model for you to test. Please write 'Test' (without the quotes) in the Load popup window and click "Load".
-

This button is used to "upload" the files needed to load a 3-D model with the "load" button. Three files are required: an .obj, a .mtl and a .jpg.
-
This button is used to "display all landmarks". All unique feature points will be shown with a label floating above them that has the respective number for a point on the list of feature points.
-

This button is used to "import" previous work that has been saved to an JSON file. This way, you can continue work that you've saved using the following button.
-

This button is used to "export" an JSON file. Clicking on the button will prompt you to download a file. The file contains all feature point coordinates and measurements. This works to save what you've done. When you want to resume your work, use the file as the input to the "import" button.
-

This button is used to "tune" a specific feature point. It toggles a group of arrows that point in four different directions. Pressing on an arrow of a direction pushes a feature point that is on a 3-D model in the direction of the arrow.
Loading a 3-D Model into the scene
To analyze a face for rhinoplasty, you first need to upload the 3D Model files (.obj, .mtl, and .jpg) to the website using the "upload" button. Then, you must click on the "load" button and enter the name of the 3-D model in the textbox and then click on the button reading "Load". (See Figure 2). We have already uploaded a 'Test' 3D Model to the website. To test the functionality and become familiar with, you can just enter 'Test' into the textbox on the "Load" popup window and click on the "Load" button.
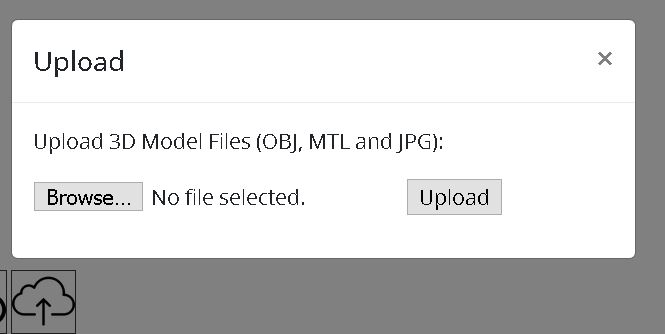
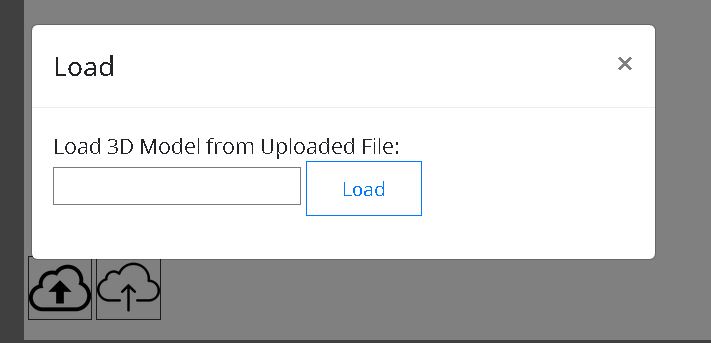
Fig. 2 The "upload" and "load" popups.
Interacting with the scene
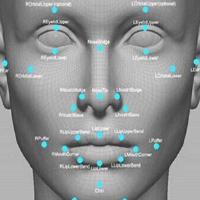
To mark a facial feature point (landmark), select a feature point from the Features list and then click on the loaded 3D model. A green dot appears on the 3D model for the selected feature point. If you are satisfied with the marked location, you can continue with the next feature point by selecting its radio button from the Features list. If you want to review the description and a guidance figure showing where the feature point should be, you can click on the question mark button on the row of the feature point and the details of the selected feature point will be displayed on a popup window as shown in Figure 3.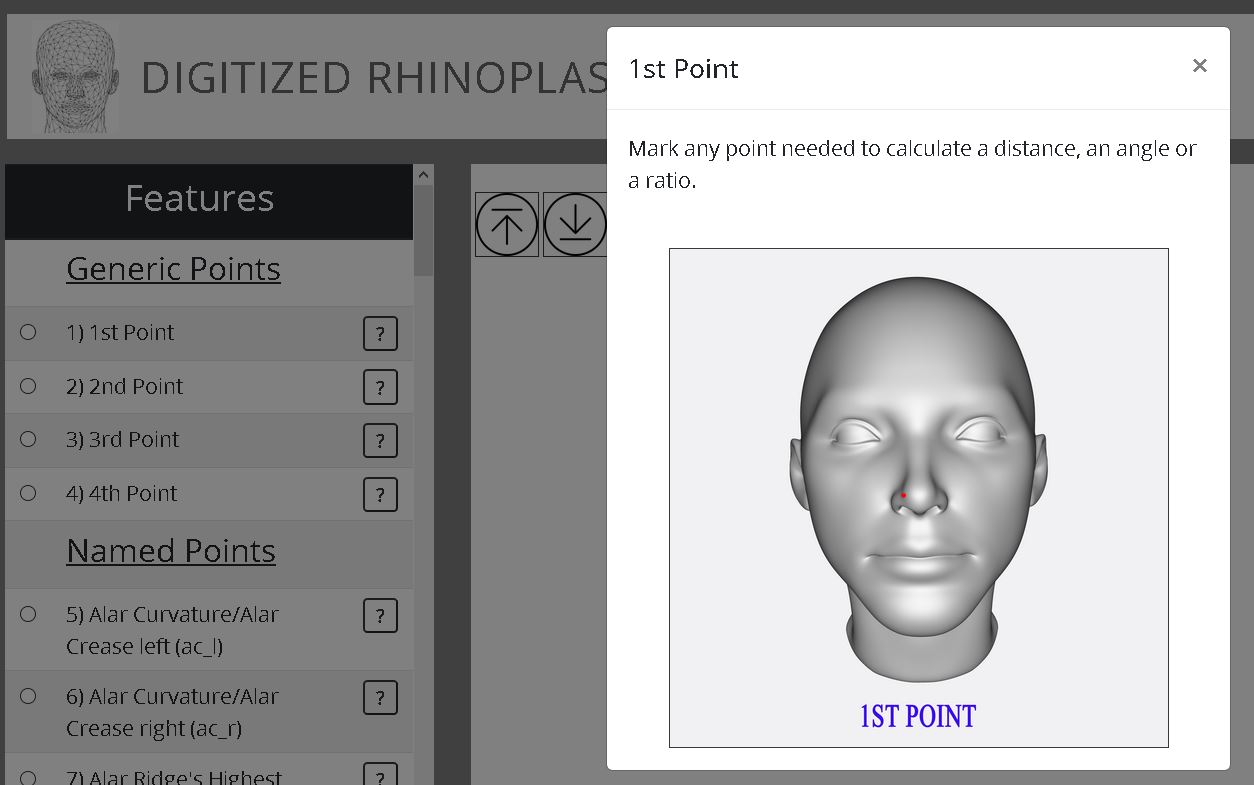
Measurements are automatically calculated as you continue to mark feature points. If you want to see the feature points used in the calculation of a measurement, you can select that measurement’s radio button from the measurements list and all the feature points involved in the calculation of that measurement are highlighted on the feature points list and a green dot is placed for each of these feature points on the 3D model. For example, when ‘Radix Depth’ measurement is selected, a green dot is placed for both ‘Nasion’ and ‘Supratarsal Crease left’ (feature points that are used to calculate the Radix Depth) as shown from different angles in Figure 4.
 Fig. 4 Display of all the feature points (green dots) that are used for calculating a measurement.
To see the details of a measurement (description, figure and the formula to calculate it), you can click on the question mark button in the row of a desired measurement. For example, when the button is clicked for the 'Radix Projection' measurement, a popup window opens as is shown in Figure 5.
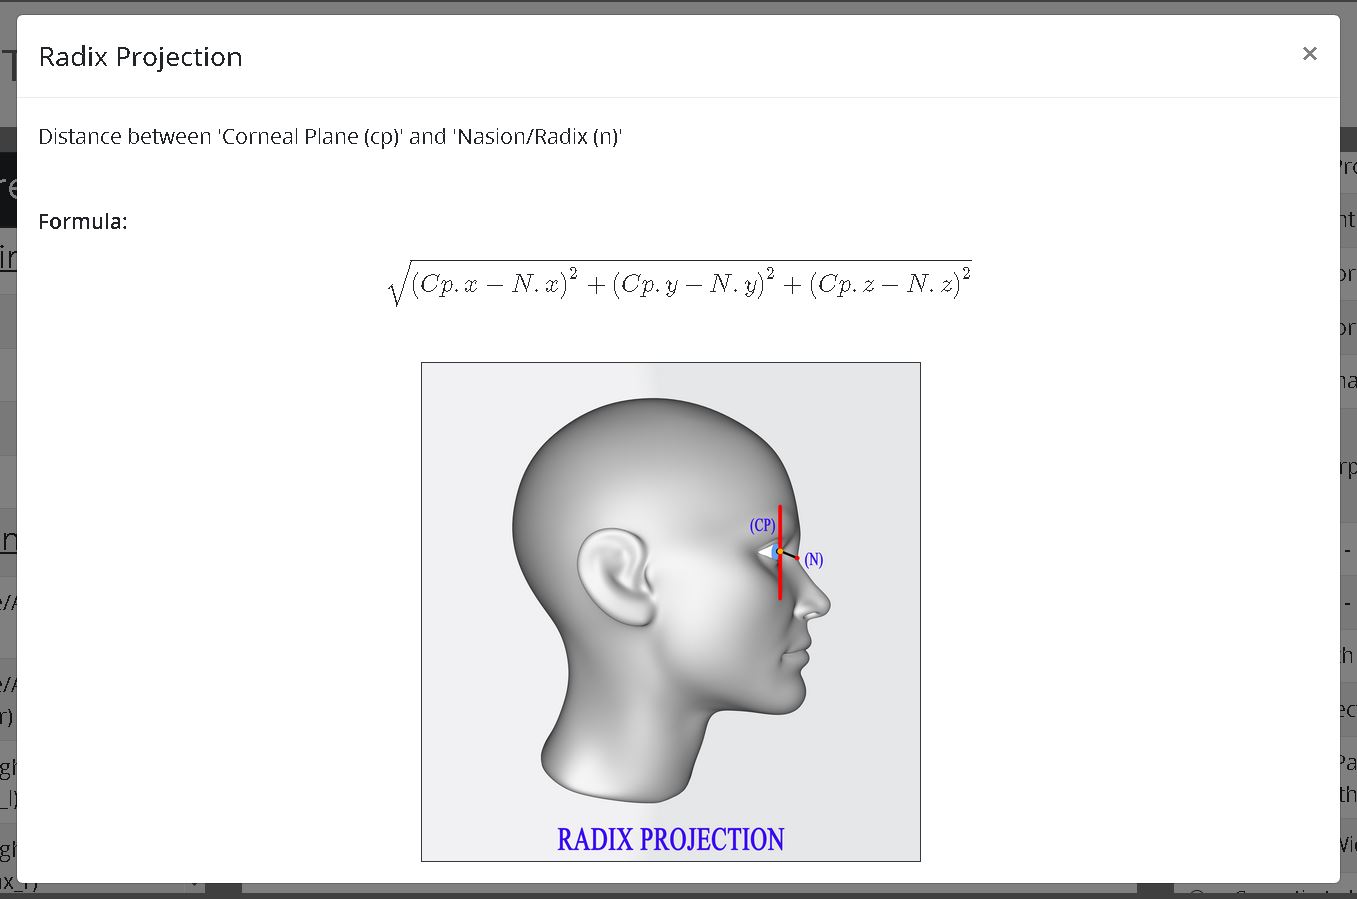 Fig. 5 Display of the descriptions, figures and formulas of measurements.
The user can save and download the data of the marked feature point locations and calculated measurements into an JSON File. Then later the data from the downloaded JSON file can be imported to continue markings and to view the feature point locations and measurement values. Samples of how the data is stored in the JSON file are shown below in Figure 6.
 Fig. 6 Display of feature point and measurement data in an JSON file.
How to use the test files:
Sample test files can be downloaded from here: samples. Steps about how to use them are explained below:
1) Rename the Test Files:
For example, if you rename the Test files as follows:
Test.obj -> Testing1.obj
Test.jpg -> Testing1.jpg
Test.mtl -> Testing1.mtl
2) Update the name of the JPG file in the .mtl file.
Open the Testing1.mtl file using a text editor such as notepad and update the name of the JPG file.
For example the new content of the mtl file should be:
====CONTENT OF THE MTL FILE====
newmtl material_0
Ka 1.000000 1.000000 1.000000
Kd 1.000000 1.000000 1.000000
Ks 0.000000 0.000000 0.000000
d 1.000000
illum 2
map_Kd Testing1.jpg
====CONTENT OF THE MTL FILE====
3) After loading the Test 3D Model, you can Import the Test JSON file (Test-Measurements-FeaturePoints.JSON).
Troubleshooting:
If you are having issues with the tool, please try using another browser such as Firefox.
If you still have issues, please let us know at otopsakal@floridapoly.edu